 ink in the grid to go the Edit Permit Application.
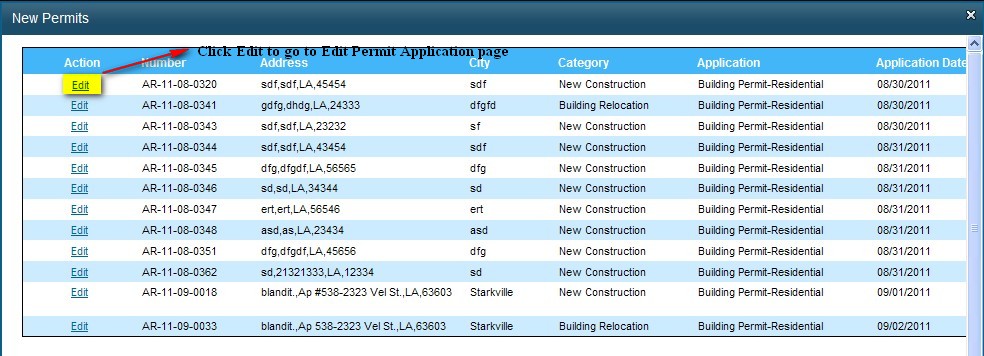
Click the New Permits link in the Permit section to go to the New Permits pop up window. The New pop up window displays the new permits added by the users and will be listed in the grid as shown below:
Click Edit link in the grid to go the Edit Permit Application.
To edit permit application, do the following:
Make the necessary changes in the necessary sections and click Submit Application and Pay Fees to proceed to the Fee Payment page.
Click Reset to clear the data entered in the fields.
Click Spell Check to check the spelling in the Edit Permit Application page
The following sections in a Permit Application page are available only to the IBTS Staff/Jurisdiction Staff.
Plan Review section
The Plan Review check box must be selected if the plan is to be reviewed as shown below:

If the check box is not selected, the permit application is processed and the permit can be issued only after all the fees are paid.
Utilities section
In the Utilities section of the permit application, detailed information about the project’s utilities, such as Type of Water Supply and Type of Sewerage, are entered as shown below:

Flood Zone section
In Flood Zone section of the permit application, detailed information specific to Flood Hazard areas is entered. Only if the structure is in Flood Zone A, the additional fields are enabled to enter the specific flood related data required as shown below:
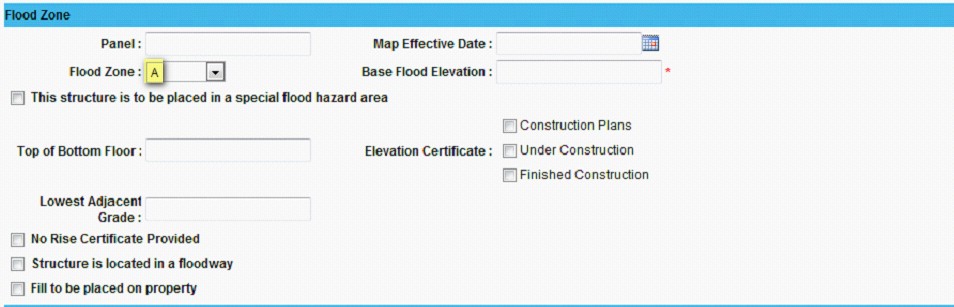
Note:
In the Flood Zone section; if the Flood Zone selected from the list is Hazardous (Here The item A in the list is a Hazardous flood zone); Base Flood Elevation filed is a mandatory field an the rest of the fields in this section will be enabled.
Required Inspections section
The Required Inspections section allows the Permit Officer and/or Plan Reviewer to identify the basic inspections that must be performed on the building prior to issuing a Certificate of Occupancy as shown below:

By default, ‘This permit requires/desires inspections’ check box appears selected.
Click Apply Default Inspections to select the default inspections.
Click Once 'Select All' check box to select all the inspections.
Note:
If the building is exempted from inspections, you need to uncheck the permit requires/desires inspections check box.
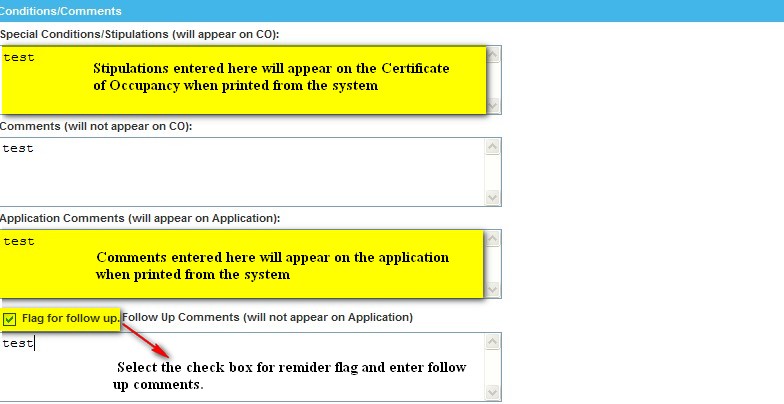
Conditions/Comments section
In the Conditions/Comments section, detailed stipulations and general comments are entered as shown below:
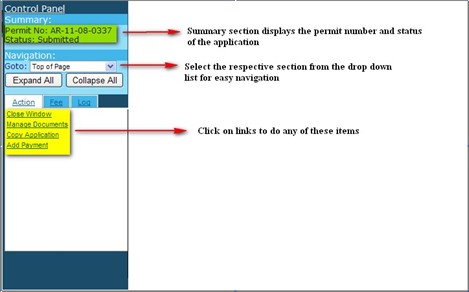
Control Panel
The Control Panel displays the general information about the permit. This panel is found on the right side of the page and displays the following:
The current status of the permit as it flows through the system
Navigation of the Permit Application page
Expand All and Collapse All feature
Actions that can be performed on the permit
Fee summary of the permit application
An audit trail of all the recent events related to the permit
Click Expand All to expand all sections of the permit application page.
Click Collapse All to collapse all the sections.
To expand just one section of the page, click the respective section heading and then click again the same section heading to collapse the section.
Action tab
The Actions tab lists the different actions needed based on the current status of the permit. Some of the main actions are listed out below:
Save and Close Window – saves the permit data and closes the Add/Edit Permit page
Close Window – closes the Add/Permit page without saving the data
Manage Documents – manage the documents relating to the permit
Print Application – opens up an Adobe Acrobat window with the permit application
Copy Application – copy the permit application
Add Payment – proceed to Fee Payment page
View Plan Review – view details regarding the plan reviews
Add Inspection – proceed to Add Inspection page to add inspection
Print Invoice – to generate invoice in pdf format
Fee tab
In the Fee tab, it provides the summary information about permit and plan review fees and payments.
Log tab
Log tab provides an audit trail of the actions performed on the permit, the date it occurred and the user that performed the action.
Click Manage Documents in the Control Panel to go to the All Documents page as shown below:
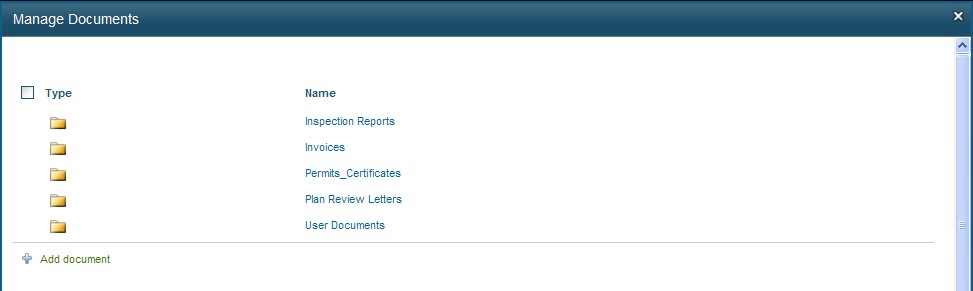
Click Add Document link to open the Upload Document page as shown below:
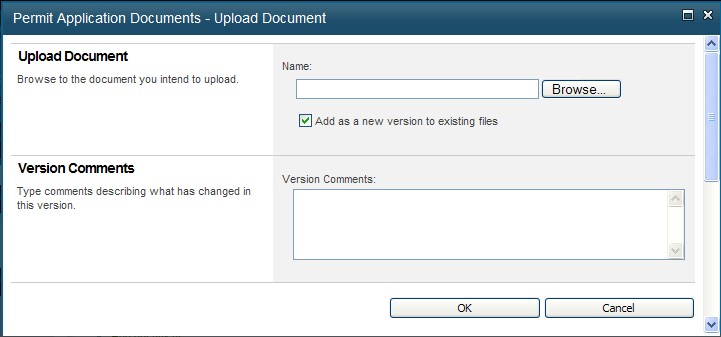
Click Browse to select the document to be uploaded.
Enter the version comments in the text box and click OK.
Click Cancel to close the window.
Note:
Once the documents are uploaded, it cannot be deleted by Registered Portal Users. Only Administrator has the authority to delete the document.